- 4,391
- 2,646
- Joined
- Oct 11, 2013
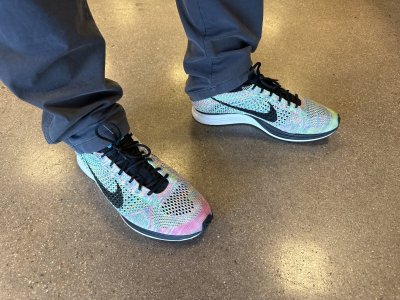
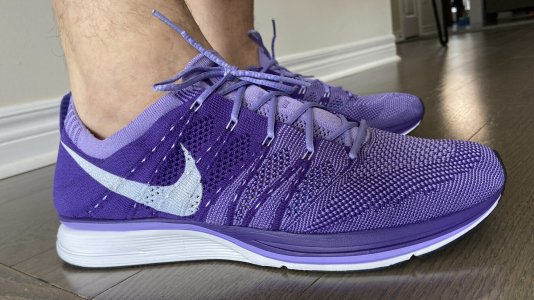
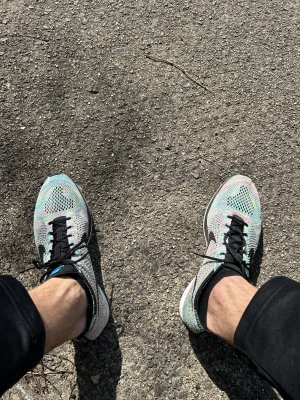
yes, I plan on taking a few pairs to the gym to do sprints around the track and most likely run 5-10k's outdoors.. having ITB issues atm that's preventing me from running longer distances more than 10k.. I plan on addressing the issue next summer..
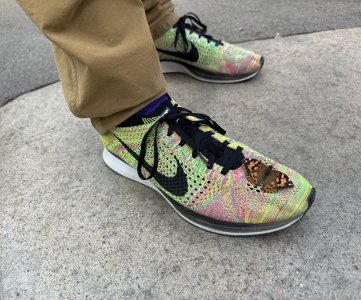
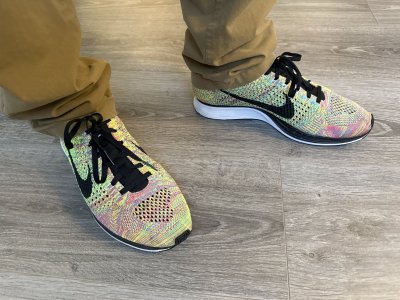
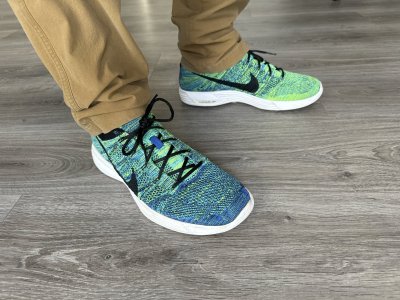
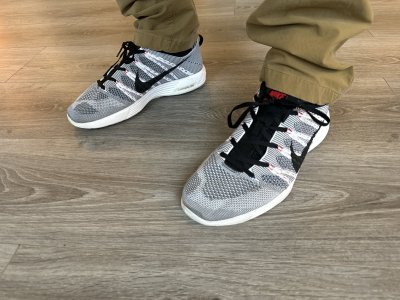
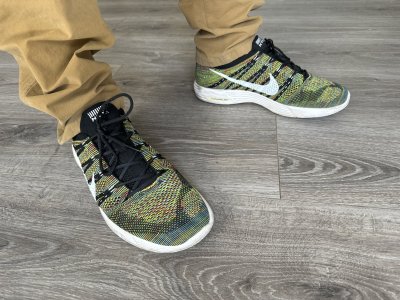
@MD177 are you going to run in your sole swaps?
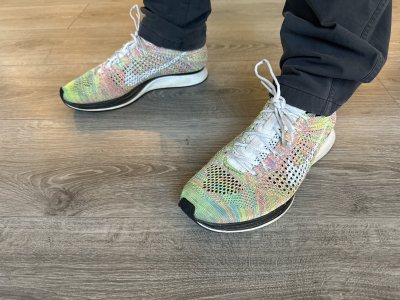
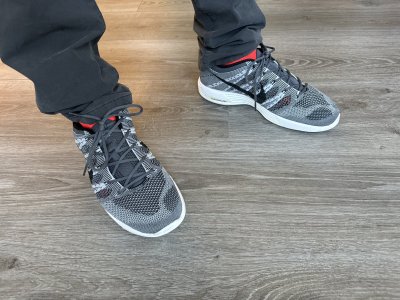
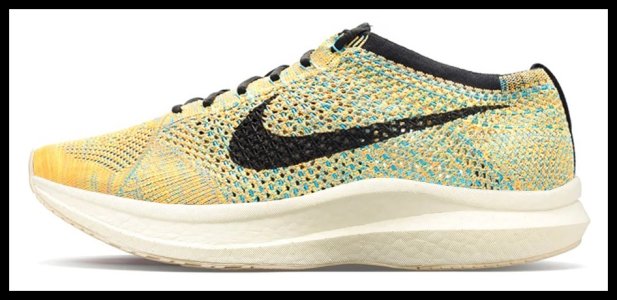
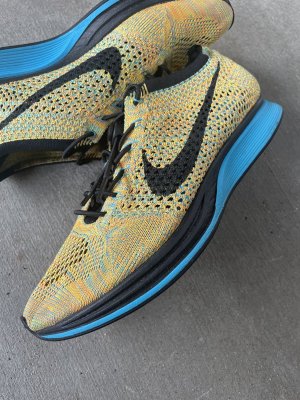
I'm trying to figure out if I like my 10.5, 11, or 11.5 sole swaps better lol
Last edited: