photoshop tips thread

Quote:
^ now the one and only thing i want to know how how to make a real life picture and turn it into a some what cartoony drawing picture? You know like in page one or two where they have that mini or whatever that car is and make it look like a cartoon. Ive seen it done before now i just want to learn and if your wiling ot elaborate on how to do that i would be very grateful haha.

I can't do that -you need illustrator I think.

The cutout filter makes a reasonable attemp at it - just go to filter>artistic>cutout.

Here's what it did to the Mini pic:

kdvntv.jpg


It's not as good but with a little painting on the top you can make it okay.
[/b]"As long as but a hundred of us remain alive, never will we on any condition be brought under English domination. It is in truth not for glory, nor for riches, nor for honour that we are fighting, but only and alone for freedom, which no good man surrenders but with his life." Arbroath, 1320.
 
^^like it was adressed already in the thread....you need illustrator...

google "vector instructions" and itll tell you....its not the easiest thing to do...

for a cheap imitation wannabe vector use the cutout filter on photoshop...
[/center]
kissing the game goodbye​
 
^yeah baby!

That's a good idea. Thanks Dirty. The other ones kept dropping off the end of the board before being archived.
[/b]"As long as but a hundred of us remain alive, never will we on any condition be brought under English domination. It is in truth not for glory, nor for riches, nor for honour that we are fighting, but only and alone for freedom, which no good man surrenders but with his life." Arbroath, 1320.
 
Sup_

Nice to see PS being used besides changing colors of shoes.

Keep up the good work Kdwallace.

Once I get situated and have time I will try my best to help out.

Peace.
"...I find a place in my heart for this hip-hop.....And pump blood through my vein my skin get hot
I take you very serious and make you write more.....If I don't celebrate I got nothing to fight for
I'm tight raw, excite y'all like nightfall.....I'm tight y'all, I walk the street like y'all..."
 
dont want KD being the only one putting effort into this...

heres my way to make a successful transparency...

youll need a tripod to take 2 pics of the object...one with a hood open, box top openn etc... and one without

heres our 2 pictures...

kecivr.jpg


img05303ij.jpg


now open both in photoshop, and pick your "base" pic...i like to think of it "im putting the hood on the car" so im using the open hood pic as my base...

keddn7.jpg


go to the second image and select all...
kede08.jpg


copy it...
kede91.jpg


go back to the other image and add a new layer....
kedg5j.jpg


leave transparency at 100%
kedge8.jpg


paste that bad mammerjammer on the base pic...
kedgrs.jpg


now get out that eraser tool....set the opacity to something of your liking...i used 50% for this pic...
sssssssssss8eq.jpg


now erase the parts you want to be see through...you can change opacity midway through to make some parts more see through than others...
dirtyy2qq.jpg


then you have the finished product...

ps81cs.jpg


you can also do it with trunks
665509_89_full.jpg


your obese neighbor
aaaaaaaaa2zl.jpg


have fun! dont do drugs!!

**also you can do this the old fashioned way....just set a long shutter on your camera and open and close whatever you are taking a pic of and youll get the same effect...


[/center]
kissing the game goodbye​
 
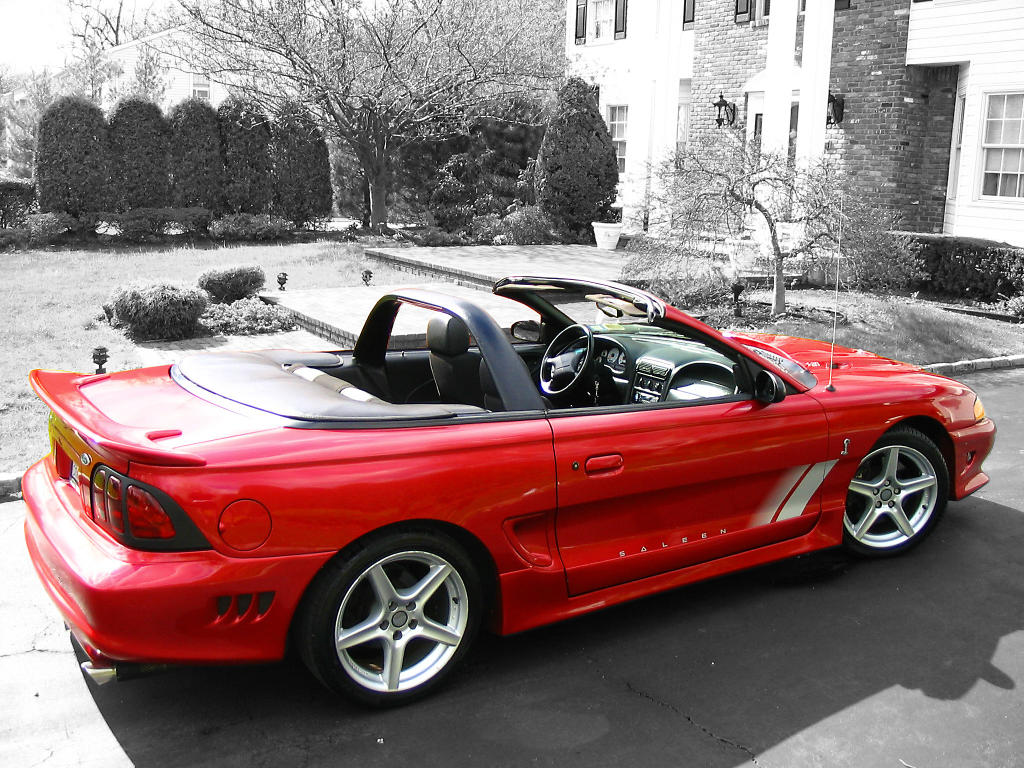
theirs also another way to do a black and white + color object picture.

1. use the magic wand to select want you want to stay colord
2. rt. click select inverse
3. click enhance then remove color (Shift+Ctrl+U)

this post may be pointless because i use photoshop elements and im not sure if its the same as regular photoshop. *im just trying to contribute
 
oh ight thanks jae ..yeah ill use the wanna-be one and test it out heh..by the way, the transparent hood is real smoking.. :wow:
eek.gif

i refuse to keep my sneakers "deadstock"
 
i still dun understand the one where there r lyke three of you. and your all in different places, how do u open multiply images?
 
^^^ for something like this

ps11110fk.jpg


you need a tripod...you have to take a lot of pics....and after that its just a matter of cutting and pasting into the right spots....paste something...clean up, add a layer, paste something, clean up, add a layer....

the clonings are actually pretty easy...
[/center]
kissing the game goodbye​
 
hey sorry i cant get the second picture to become a layer. how do you do this? it opens up as to separate images
WANTED in size 8 and 8.5​
Air Garnett 96-97, Shimizu's Dunk Hi, Tony Parker DunkHi, Air Max 96,Air pippen 1,Air Penny 3.
 
^^^yea i think thats the problem im having, they arnt together in one group when the pictures are suppose to be together on the right hand side
 
k i just figured it out. you have to open both of them . then dupiplicate layer for one. once you duplicate you are able to take that duplicated layer to the othe image. hope that helps
keu8wo.jpg

keu9aw.jpg

keuaro.jpg

now to try the transparence.
edit: does anyone know how to erase those lines on the bottom.
WANTED in size 8 and 8.5​
Air Garnett 96-97, Shimizu's Dunk Hi, Tony Parker DunkHi, Air Max 96,Air pippen 1,Air Penny 3.
 
^^ can u go a lil further into detail. im not getting how to make both of them show up in the same image.. :\
ohwell.gif
 
This is not a tutorial, but more of a way to show off other programs. I've always classified photoshop as the lazy man's/woman's way to design (I hate photoshop designers.....j/p) and illustrator is the hard working way to design. But both are essential in there own way.........


So I did this design in illustrator.............took about 6 hours to complete.......going to use it on my site/resume when done.....
Oh, and props goes to Bob Parington (SVSV graphic designer) for the inspiration. I am not going to lie, I bit his style to the bone. Hard as hell though.........


Stage 1 (Just the sketch that i scanned in........very,very,very important to sketch draw things...or at least just to brainstorm ideas)


Stage 2 (Simple layout of lines. Trying to be consistant and make sure all lines are the same angles)


Stage 3 (Started to connect some of the lines together)


Stage 4 (more touch ups for consistancy. I use the green lines to measure thicknesses so that all of the widths are the same)


Stage 5 (Final result after some erasing and tweaking)


Stage 6 (Well, I would probably leave it as a traced outline, but here's a look at my weak photoshop skills. Just some simple, coloring)


Still needs some work. Might go in and gradient some of the edges. I don't know. Sorry for the long read/look. Just wanted to share........You all should hop on illustrator more and start tracing. It takes some time, but the end result is more satisfying.......peace.
E-mail: Fongstarr@hotmail.com
AIM: Fongstizzle

Member Since January 26, 2003
 
Oh yeah.....Dre Y2 just put up almost every tutorial you might need. (Even the "How to do vectors" in photoshop. Beware though, it will take some time to actually draw some decent stuff) Good post!
E-mail: Fongstarr@hotmail.com
AIM: Fongstizzle

Member Since January 26, 2003
 
Back
Top Bottom